

Capturing the Season: Making Autumn Leaf Playsilks
by Andrea Folsom, concept by Danielle Reiner
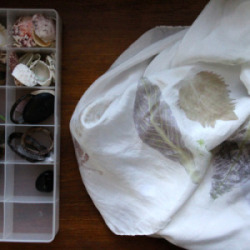
At heart I am a collector – smooth stones, interesting shells, acorns and pinecones, and in autumn, beautiful leaves. I find these pieces of nature help ground me in the time and place both where they were discovered and where I am in my own journey through life. These nature reminders have found their way throughout our home - from the pumpkins and pinecones in the seasonal display on a main shelf, to the cicada and butterfly wings on our nature table, to the worry stones huddled at the bottom of my pant pocket. So it is no great surprise that my children have also become collectors, often times gathering more than their little hands can carry on a simple walk around the neighborhood.
 Some things, however, simply cannot be collected, not for any length of time at least – wildflowers that droop before we get home, fiery leaves that dry and curl brown after a few days off the tree, or even my children running outdoors happy and wild. This season, we wanted to harness some of the color and energy turning the trees red, yellow, orange, green, bringing it home for the cold winter months when the leaves of summer and fall have become but a distant memory. The idea of transferring the crimson and rust onto playsilks, a staple for imaginative play in many-a-home, seemed like a natural fit. And so we set out to capture the season.
You Will Need:
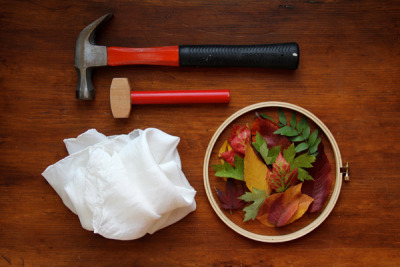
Hammer, hard rubber mallet, or wooden mallet
Protective eyewear
Playsilks
Embroidery hoop
Fresh leaves (preferably picked from the tree or very freshly-fallen)
A hard surface, such as a cutting board or extra piece of wood
Please note: the pigment from the leaves will transfer onto whatever surface you are hammering onto.
What To Do:
Like so many other projects we do, this one starts the same, with a nature walk. This time you’re gathering leaves of all shapes and colors. The fresher the leaf the better – this is an instance where some leaf picking from trees may be in order to ensure your leaves are full of pigments and water for optimal dying. Dried-out leaves will not transfer pigment as easily and the colors will be much less vibrant.
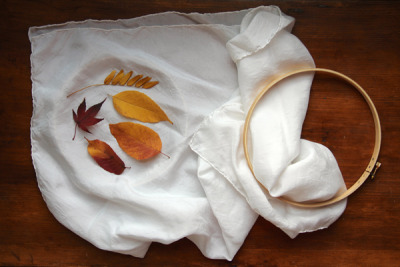
Now that you have your leaves, you are ready to set up your printing space. Lay your fabric over the smaller hoop.

Place your leaves and cover with the other end of your fabric and put the larger hoop over top, so that your leaves are sandwiched between the fabrics.
Pull the fabric taught on each side so that your leaves won’t slip as you hammer.
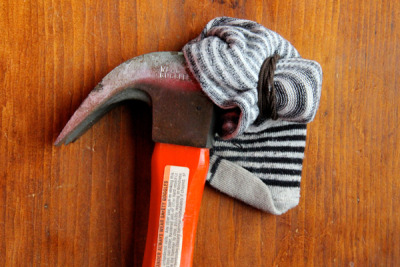
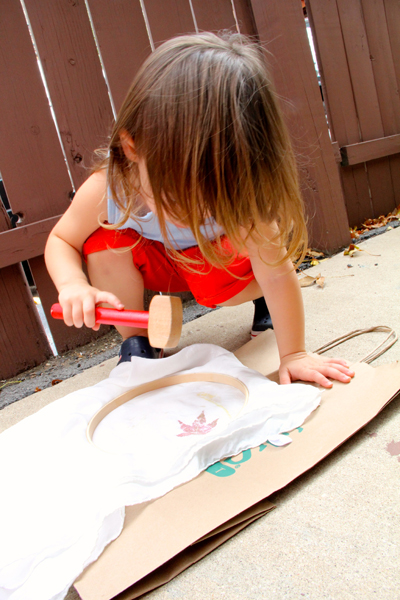
If you are using a large hammer, we found it is good to protect your playsilk from the hard metal by wrapping a thick piece of fabric around the end. An old sock did the trick for us!
Before you start, safety first: If you are working with children and using a hammer or mallet be sure to wear protective eyewear and use your best judgment to keep everyone safe. Also, if you are using a hammer, please be aware that this is a very loud activity that may be a bit much for little ears.
Place your hoop on your board so that it is fabric-side down and looks a bit like a bowl. Place your board on the ground. If you are working outside on a hard surface, such as a concrete driveway, you do not need to use a board, though you will still want to protect your playsilk by laying down a couple of brown paper bags.
Now finally, you can start hammering!
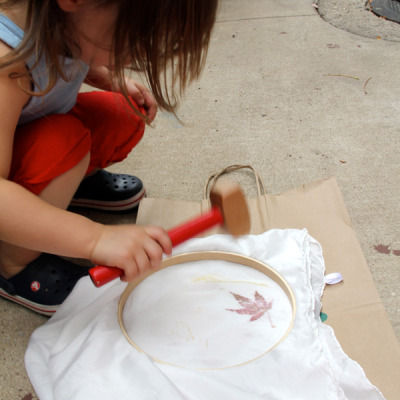
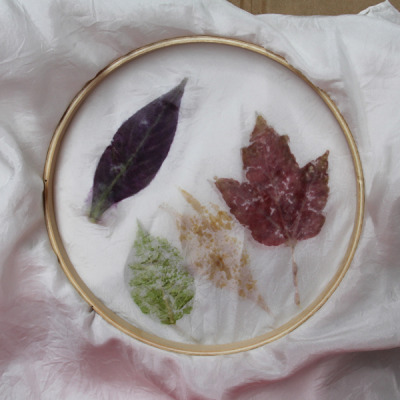
You will notice that some leaves require very firm hammering, while others do better with tapping or even placing your hammer onto the fabric and pressing hard. You will need to experiment a bit with the leaves you have to see what the best method is. We found what adults have in strength of hammering, children make up for in sheer volume of hits and whacks!
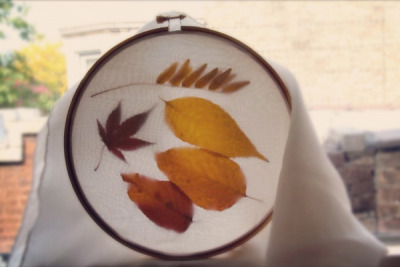
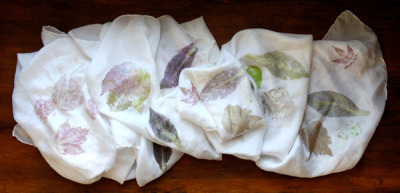
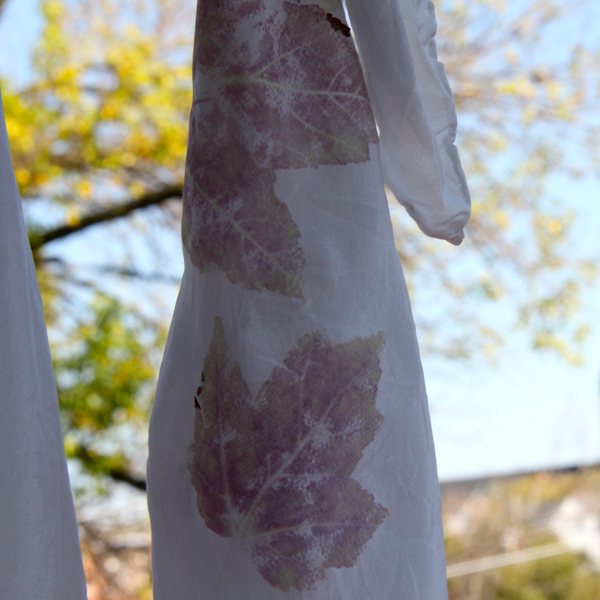
When you are satisfied with the leaf image, remove the embroidery hoop and admire your work! You can add as many leaves as you’d like.
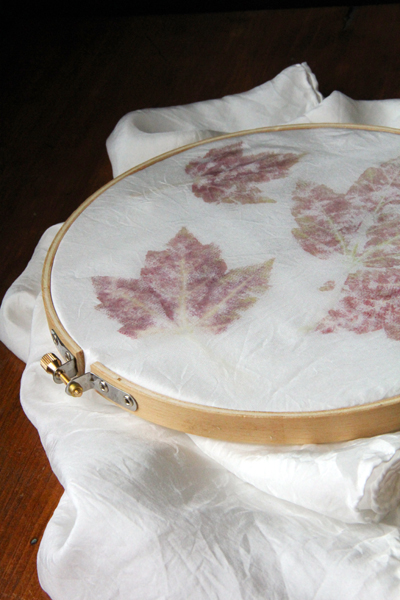
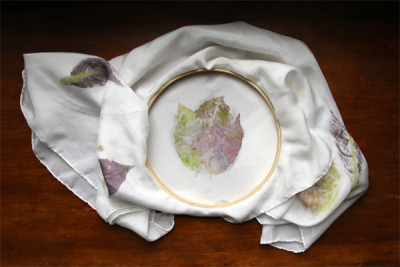
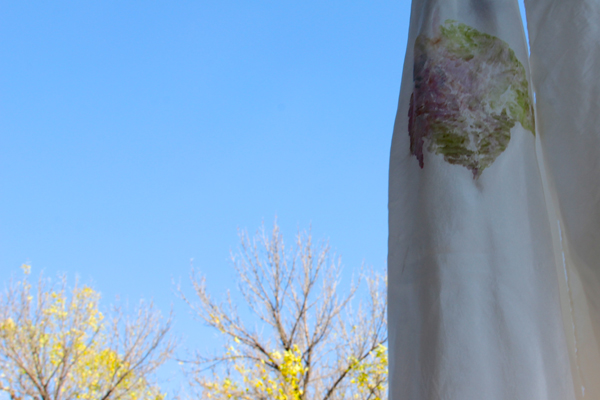
Once your playsilks are done and have dried overnight you will want to set the pigments a bit. Like autumn, these prints will be fleeting if a storm comes through, so please avoid getting yours wet (unless warranted, of course!). Setting the prints with an iron set to a higher heat will also help preserve your playsilks.
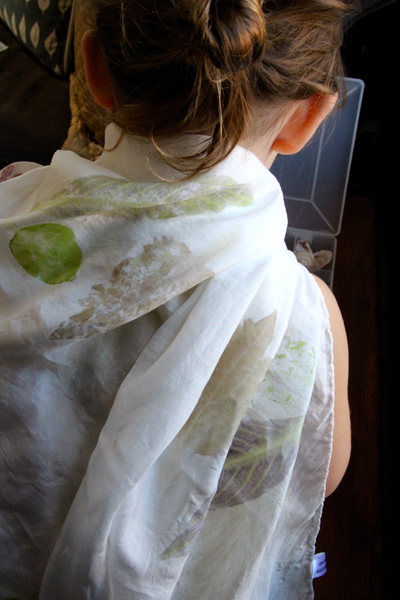
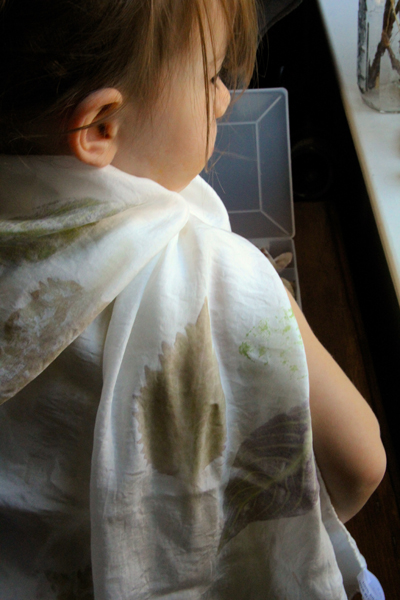
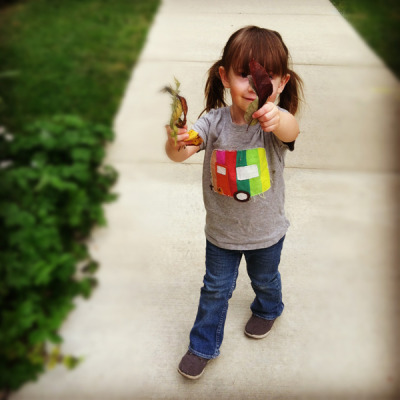
Finally it is time to play – naturally our new playsilks were worn on another nature walk, where more leaves were found, and the toddler by my side declared excitedly, “Let’s hammer this one Mama!” Yes, we hope you enjoy your new playsilks as much as we do ours!
Explore More and Make Connections
What other fabric could you print on? What will you do with your fabric or playsilks?
What other pieces of nature do you think you could use to make fabric prints? Give it a try!
Look at what happens to the wood when the pigments of the leaf come through the fabric - what would happen if you hammered the leaves directly onto the wood with no fabric?

Andrea Folsom, LCSW and Danielle Reiner are the cofounders of Crafting Connections, a website and quarterly digital publication for little ones and their grown-ups. Creative business women, mamas, and friends, Andrea and Danielle are doers to the core and can often be found crafting and creating with their own little ones. Connecting with the natural world through exploration, our children through creation, ourselves through focused hands, and the community through shared experience – learn more about Crafting Connections at www.craftingconnections.net and join in the conversation on Facebook and Twitter.
 3 Comments
Reader Comments (3)
Thank you!